
Configuring a Personal S/MIME Certificate
This write-up is intended to not expect any significant amount of technical knowledge, it is tailored to those who have an interest in protecting their online identity. I will do my best to detail each of the longer sections into two parts:
-
ANALYSIS - If this is your first time configuring S/MIME and you want to learn a little bit about what you are doing.
-
SPEED - You have already previously configured S/MIME and just want a refresher or you don’t care what you did, you just want it to work and get it done.
Overview
S/MIME (Secure/Multipurpose Internet Mail Extensions) is a standard used to encrypt and sign emails (and attachments). This can be considered an alternative to PGP/MIME. Between both S/MIME and PGP, there is no superior standard, it all depends on the preference of the user or needs of the enterprise environment. S/MIME uses a trusted third-party to vouch for the user and subsequent certificate renewals depending on the certificate authority and certificate type. S/MIME provides the ability to configure public key encryption without the need for additional add-ons or software. This makes the deployment of a single user’s certificate across multiple mail clients or devices (including mobile).
Configuration
Registering Your Email with a Certificate Authority
If you already have a certificate in hand issued by your organization or were previously issued a certificate that has not yet expired, you can skip this section.
Comodo is a well known Certificate Authority, or CA, we will be using for this tutorial. Comodo issues free personal ceritificates for one year. After the one year expirey date, you will have to seek renewal or purchase a certificate for a longer duration.
- Go to Comodo and register your email for a certificate.
Note: Comodo’s web form does not accept submissions from Chrome or Edge, so for this step you must using Firefox or Internet Explorer.
When filling out this form it is important to select a strong password for the field label, Revocation Password. If your key pair is ever compromised this feature will allow you to revoke the certificate to prevent a malicious party from forging signed/encrypted emails or reading encrypted emails where you are the recipient.
Export a PKCS12 Cert from Firefox
Next, a email from [email protected] should arrive within a few minutes with details on how to retrieve your certificate.
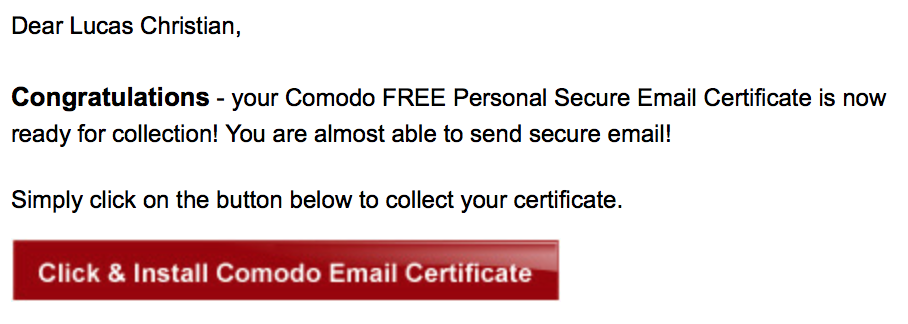
- You should then click the red box labelled: Click & Install Comodo Email Certificate
A file called user.crt should automatically download. It is important to keep track of files from here on out in the write-up, you do not want these files to be littered around your file system to make it easier for a malicious party to stumble onto them. I suggest storing all S/MIME data on an encrypted USB drive or Password Manager.
-
Open Firefox and in the URL bar, type, “about:preferences”
-
Once the page loads, type “Certificates” and select View Certificates…
-
Under the Your Certificates tab, select Import… change from “PKCS12 Files” to “Certificate Files” in the window dropdown and navigate to your newly downloaded
user.crtfile.
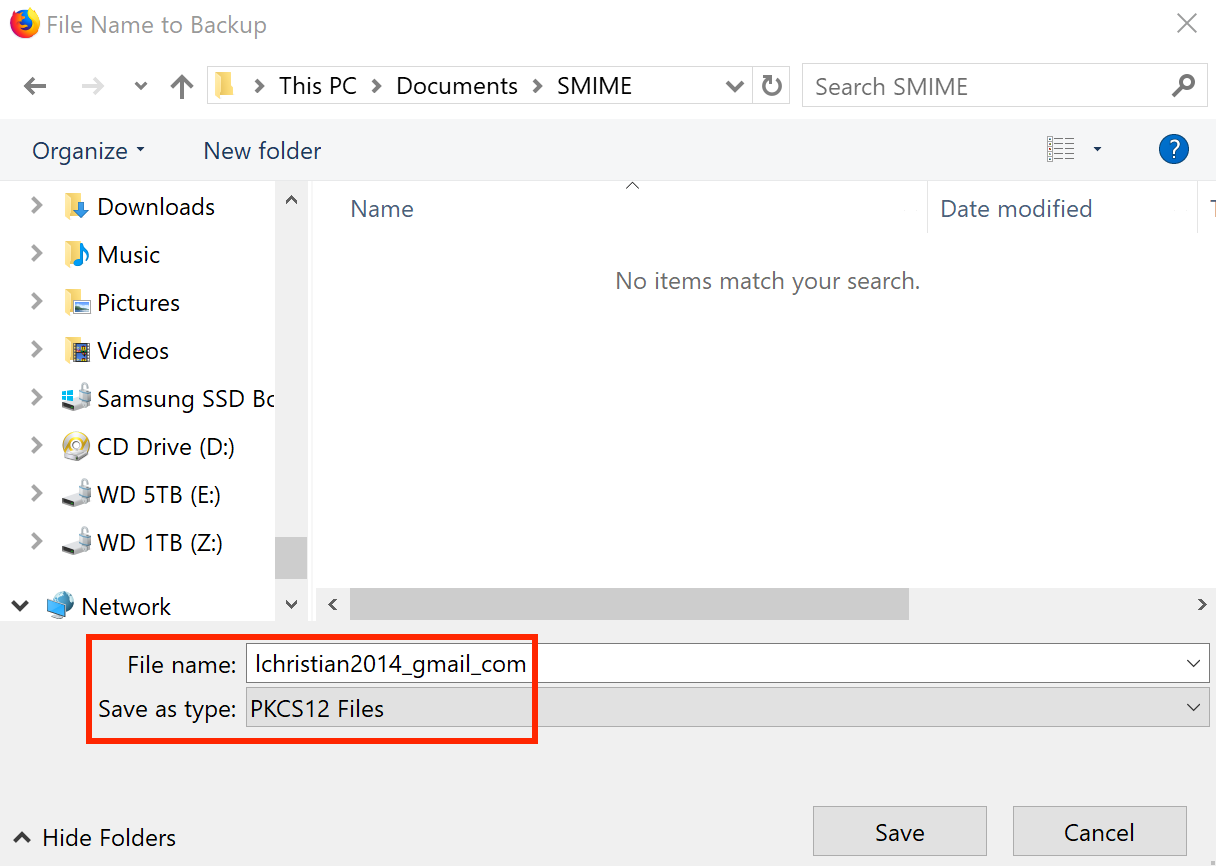
- Once imported, selected the certificate from the table and choose Backup.
You will want to backup the PKCS12 certificate to the directory you placed user.crt. Create a strong Certificate Backup Password (different than that of the previous revocation Password with Comodo).
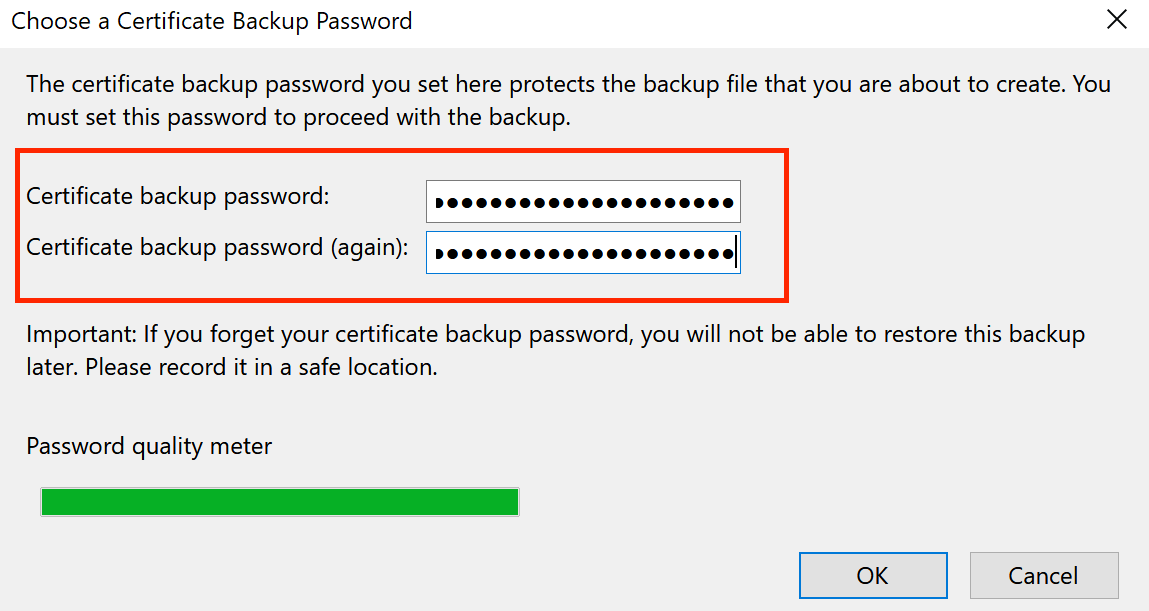
This section took our downloaded cert and converted it to a format that could be imported and used by a mail client (CRT -> PKCS12).
Importing your Certificate
Now that your certificate has successfully been exported as a PKCS12 file we need to import your certificate into your mail client (Thunderbird/Outlook are outlined here). This write-up assumes you already have a mail account setup in your mail client.
Thunderbird
-
Right click on the account mailbox corresponding the certificate we have, then click Settings. The account mailbox can be found in the mailbox tree on the left-most pane of Thunderbird. If your pane is missing, you can access the Account Settings section through the Options/Preferences dropdown.
-
Click the Security tab and select Manage Certificates under the “Certificates” section on the bottom of the window.
-
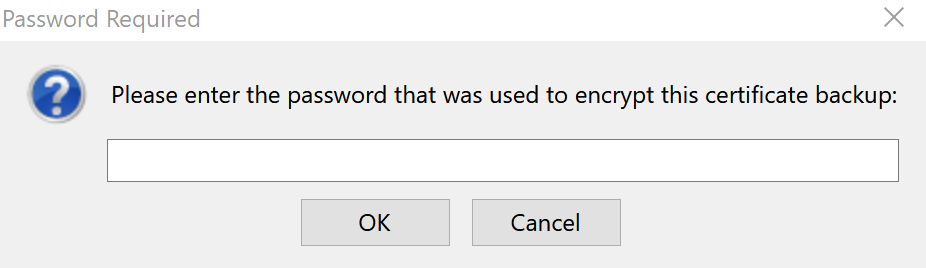
We then Import our PKC12 certificate under the Your Certificates tab. You will be prompted to enter the Certificate Backup Password you set in the last section.
-
Once added, leave the Certificate Manger window and select the newly imported certificate from the certificate store for both Digital Signing and Encryption.
-
Ensure the box labelled “Digitally sign messages”, is checked. Also make sure the radio button for “Default encryption setting when sending messages” is set to NEVER.
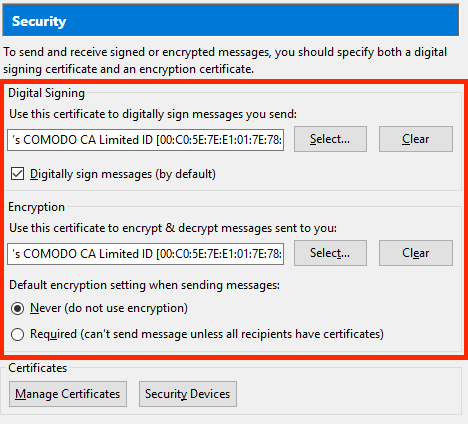
NOTE: By Default all emails will be signed by you, however, the email can only be encrypted if both parties are using S/MIME AND both parties have previously exchanged public keys.